Overview
Updated 03/16/2022
The Post Order to Web option on the DH Order Actions menu enables the display of detailed information about the selected DH order and allows a user to edit that information where available.
Posting a Job Order to a Job Board Portal
Updating or Removing a Job Order from a Job Board Portal
Automatic Removal
Manual Removal
Removing a Tab from the "Post Order to Web" Window
Posting a Job Order to a Job Board Portal
- In the Temp Order section or DH Order (Direct Hire) section, search for and select the order.
- From the Action menu, choose Post Order to Web. The Post Order to Web wizard appears. The Customer Info, Order Info, and Worksite Address group boxes, the read-only data is pulled in from the current order.

- In the Job Description group box enter the following, remembering to tab to the next field to save your entries and selections:
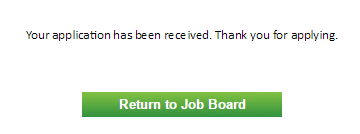
Field Name Description Additional Information Category The category that the job falls into. The items that appear in the Categories drop-down menu can be edited and new items can be added. See Admin Tools: Skill Code for more information. Job Title The job title. This field may not be editable, depending upon the configuration at your site. Shift The shift for the position, such as First, Second, etc. Hours per Week The number of hours that are required to be worked per week. Base Pay Amount - Min Minimum amount/rate of pay allowed for the position. Base Pay Amount - Max Maximum amount/rate of pay allow for the position. Base Pay Type Indicates if the base pay is dispensed hourly, yearly, etc. Pay Information Any notes regarding the pay can be addressed here. Dress Code Indicate the type of dress required for the position (i.e. formal, business casual, etc.) Recipient Email Address Indicates who is to receive emails. - In the Redirect URL for Applicant text box (optional), enter the URL address that an online applicant should be sent to after completing a job application and clicking Return to Job Board. If no URL is specified, applicants will be directed by default to the URL specified in Config Option - DefaultApplicantRedirectURL.
- Click Next. The Job Description tab is displayed.

- Enter job description information in the text area provided. Click the HTML tab to enter the information using HTML.
- On the Design tab, you can modify the text as needed using the formatting options in the toolbar above the text area.
- Click Next to continue. The Job Requirement tab is displayed.
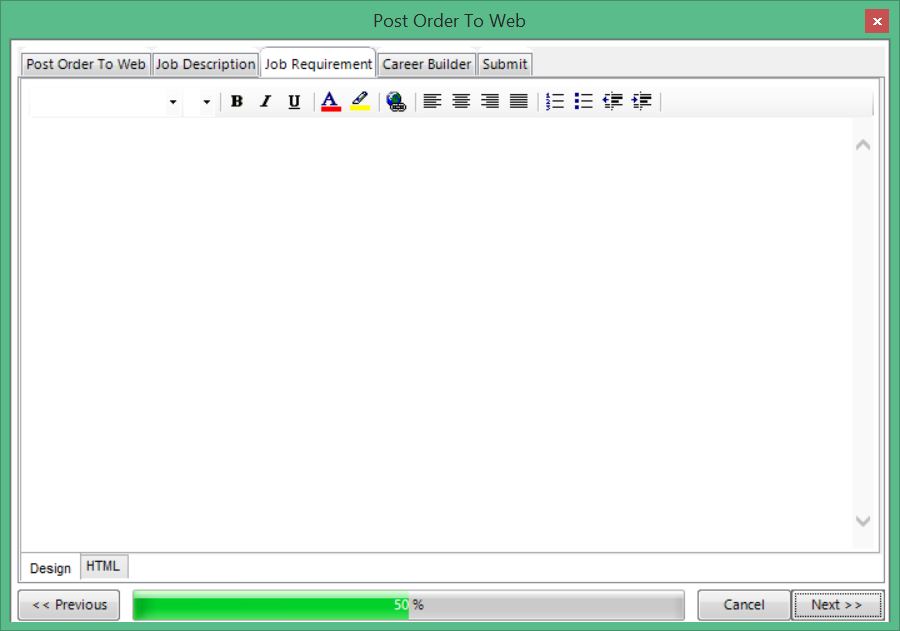
- Similar to the Job Description tab, enter text for any requirements of the job. You can enter and format the text on the Design tab or switch to the HTML tab to enter or paste HTML code.
Click Next to continue. The Career Builder tab is displayed.
Note: This tab can be disabled in the Admin System Job Portal.
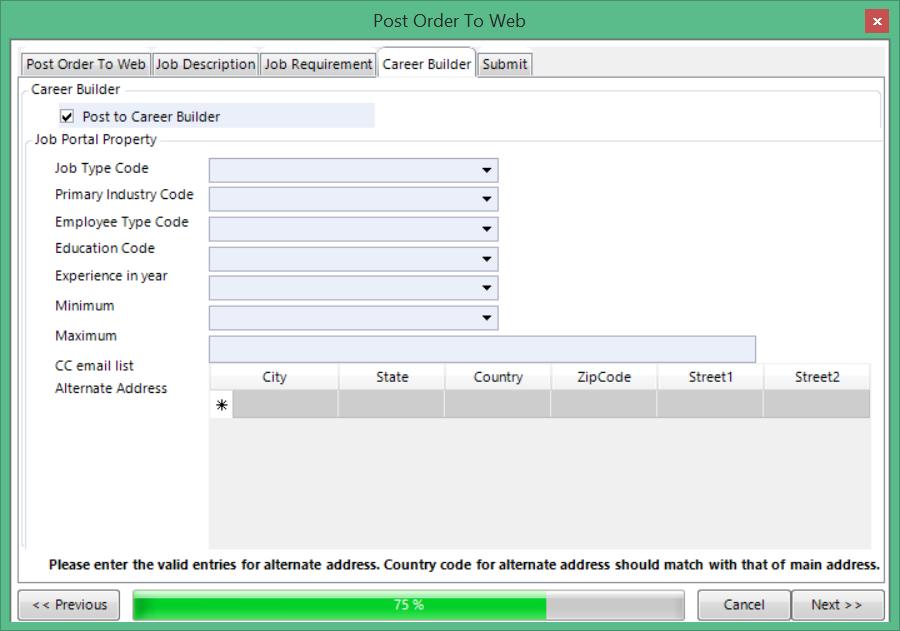
- Provide the following information if you are submitting the order to Career Builder.
Note: If you do not wish to post to Career Builder, or the option is disabled un-mark the Post to Career Builder check box at the top and continue to the next step.
Field Description Additional Information Job Type Code Alphanumeric code specific to Career Builder which classifies this posting by job type. Primary Industry Code Alphanumeric code specific to Career Builder which identifies which industry this job falls under (e.g. Not for Profit, Hospitality, Telecommunications). A list of available codes is located on the external page: Career Builder - List of industry Codes.
Note: This page is not maintained by Avionté and is subject to change without notice.Employee Type Code Alphanumeric code specific to Career Builder which identifies what type of employee is required for this position. Experience Minimum Experience - Displays if Experience is not checked. Enter the minimum experience required. Maximum Experience - Displays if Experience is not checked. Enter the maximum experience required. CC email list Enter recipient email addresses that should receive an email notification of applicants that apply to the job through Career Builder (separate multiple entries with a comma or semi-colon). Alternate Address An address other than the main address where the individual may be residing. - Click Next, the Submit tab is displayed.

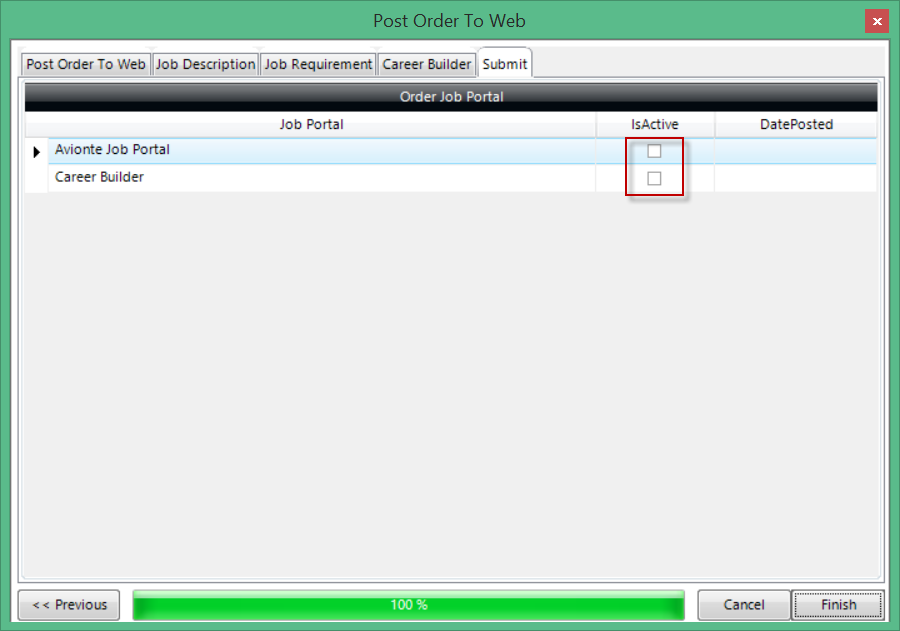
- Click the Is Active checkbox for each job portal to which to post the job opening.
- For each posting, the Date Posted value defaults to the current date. Change this date as necessary to indicate the date you want the order to actually be posted on that job board.
- Click Finish to complete the posting process.
Unposting or Removing a Job Order from a Job Board Portal
If a job order has been filled or is no longer available, it can be unposted or removed from the job portal or website. Removing a job from the job board can be done manually or automatically based on the Order’s status.
Automatic Removal
To set up jobs to be removed from the job board automatically based on Order Status:
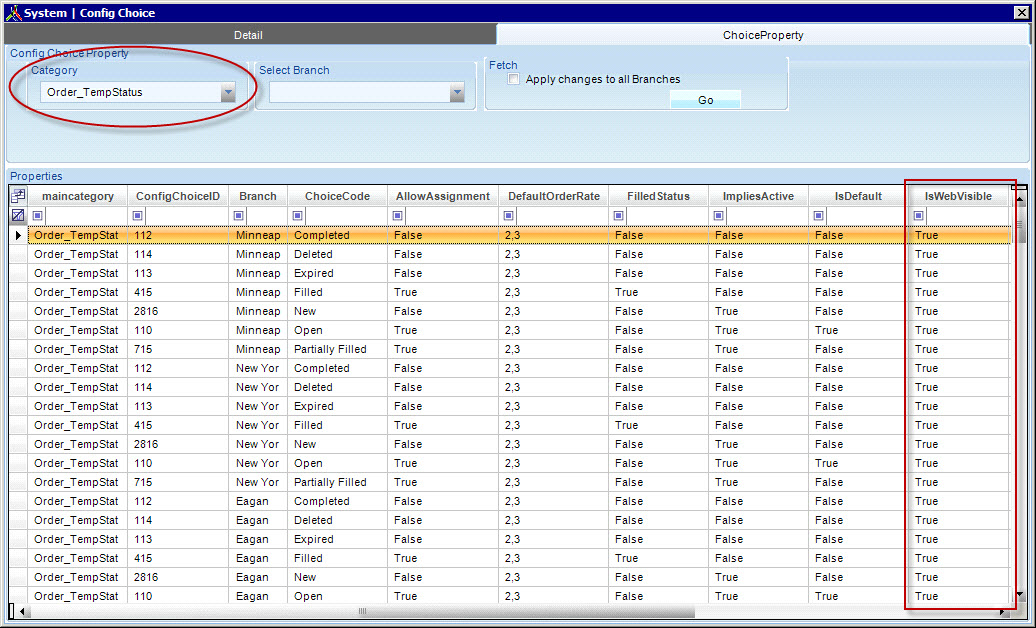
- From the Start Page, navigate to Actions menu > Admin Tools > Config Choice.
- Click on the Choice Property tab.
- In the Category drop-down menu, select Order_TempStatus.
- Select Apply Changes to all Branches if you would like any alterations to properties to be applied across all suppliers automatically.
- Set the IsWebVisible property to True or False for each status and hit Tab on your keyboard to Save.
- True: Orders in the selected status will still be visible on the web after completing the Post Order to Web Wizard.
- False: Orders in the selected status will be hidden from the job board automatically. Employees will no longer be able to apply directly to this position.
Manual Removal
To remove a posted job from the web manually:
- From the Main Menu, navigate to Front Office > Order or DH Order
- Search for an order using the search field at the top of the window.
- Double-click on the order item to launch the Order > Summary section.
- Click on the Actions menu.
- Choose Post Order to Web from the drop-down menu. The Post Order to Web wizard appears.
- To get to the relevant setting, click Next until you reach the Submit tab.
- In the Submit tab, deselect the Is Active checkbox for each job portal from which you need to remove the order.
- Click Finish to complete the removal process.
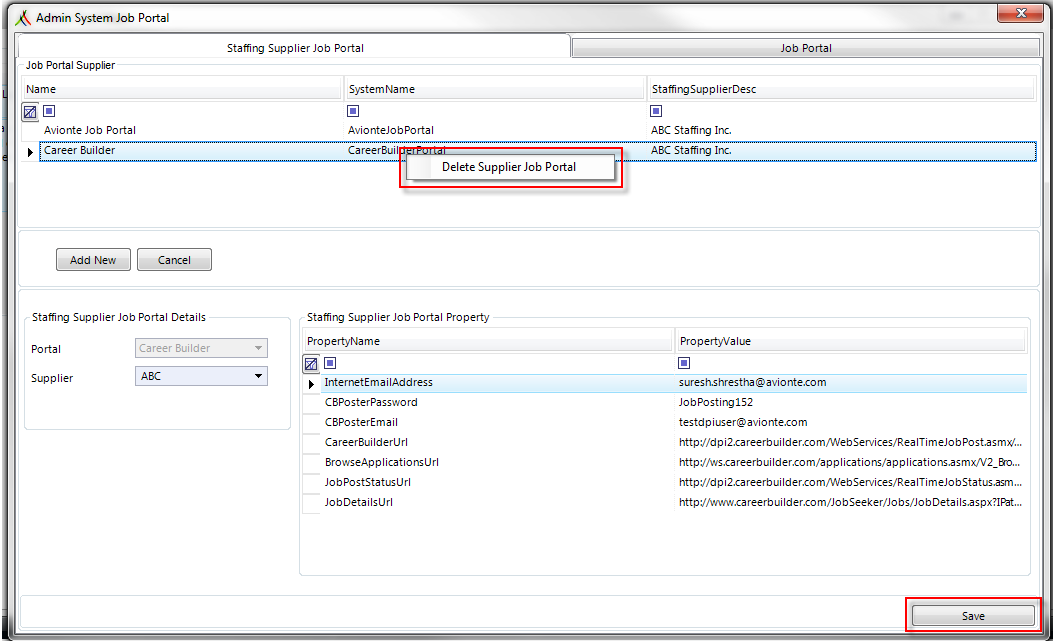
Removing a Tab from the "Post Order to Web" Window
Note: You may want to write down your username and password in case this tab needs to be added in the future.
- Under the Staffing Supplier Job Portal tab, navigate to Admin Tools > System > Job Portal.
- Right click on the supplier you want to remove.
- Click Delete Supplier Job Portal.
- Click Save.
Comments
0 commentsPlease sign in to leave a comment.