A Temp order is how a customer's request for temp workers is entered into Avionté. It allows users to find and match an employee and start an assignment.
The Temp Order wizard is how a user enters a new temp order. The tabs of this wizard, and some content therein, are customizable through Config Choice options in Admin Tools.
Access
There are two ways to access the New Temp Order wizard. Each one will populate the wizard with different information.
- The Order main-tree item.
- Navigate to the Order main-tree section.
- Click the New Order icon on the top right corner of the order screen.
- The Customer main-tree item.
- Select the Customer main-tree item
- Select a customer and navigate to their Summary sub-tree item.
- Click on the Place Temp Order button.
New Order Tab
- In the Customer/Order Info group, enter the following:
- Customer Name: The name of the customer that is attached to the Order. Certain fields will populate based on information entered into that customer's Detail sub-tree item.
This field will auto-populate if the order was created from a customer's Summary page.
- Department Name: The department in the attached customer's organization.
- Address: The address for the customer's organization's department. This can be edited, or replaced using the inter-field buttons.
- Branch Name: Select which of the Customer's branches the order applies to.
- Order Type: Allows the user to designate what type of order is being processed. These options are set up using the Config Choice menu.
- Customer Name: The name of the customer that is attached to the Order. Certain fields will populate based on information entered into that customer's Detail sub-tree item.
- In the Title/Date group, enter the following:
- Job Title: Select what position is being filled from the provided drop-down menu. Note: This menu is generated based on setting for the customer.
- Wc Code/WSIB: Enter the workers compensation code for the order. Note: These will populate with different codes depending on the customer's country of origin.
Important: If a customer's default Wc/WSIB expires on the date of the temp order, this drop-down will not populate with the Wc/WSIB codes set for that customer.
- In the Rates group, enter the following:
Note: The transaction types that appear in this box are controlled by the Config Choice Order_TempType > DefaultOrderRateSystemName.
- Shift: Select which shift the order is for. You can enter a customized field by entering a name, and the start and end times manually. Note: The default options are based on settings from the customer selected.
- Markup: Select the mark up that is applied to the Pay Rate to generate the Bill Rate.
- Pay Rate: Enter the pay rate for the position. Tabbing off of the field automatically generates the remaining fields based on the Markup section.
- Bill Rate: Automatically generated by tabbing off a entered pay rate.
- In the Users group, enter the following:
- Account Manager: Enter the user in charge of the customer. Customized through the Config Choice menu.
- Entered by: Auto filled based on the user that created the order.
- Staffing Rep: Enter the Staffing Rep for this offer. Customized through the Config Choice menu.
- Status: Set the status for the order.
Extra Tab
Contains auxiliary information not included in other items of the Order section.
Add Grid Entries
To add an entry to the grid:
- Select an option from the drop-down menu in the Label column of the Enter New Here header.
- Enter an appropriate value in the adjacent cell of the Value column.
- Press the Tab button on your keyboard to add the entry to the grid.
Note: Create new, customize and remove optional values through the Config Choice menu.
Delete Grid Entries
To remove an entry from the grid:
- Right click on the grid entry that you want to remove. The option to Delete Extra Value(s) displays.
- Click the Delete Extra Value(s) option. A window will display prompting confirmation to delete the value.
- Click the "Yes" button on the confirmation message to delete the entry from the grid.
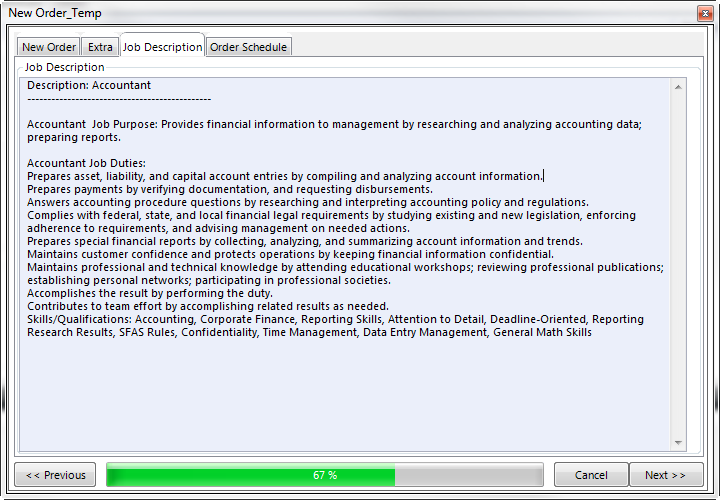
Job Description Tab
A free-text field that allows a user to enter a comprehensive description detailing the open position. The field allows up to 32,767 characters.
Order Schedule Tab
- Start Date: Select a start date for this position.
- End Date: Select an end date for this position.
- Required: Enter the number of employees needed for this position
- Shift Name: The name of the shift imported from the New Order tab.
- Start Time: The start time for the shift imported from the New Order tab.
- End Time:The end time for the shift imported from the New Order tab.
- Click the Finish button to submit the order.
Comments
0 commentsPlease sign in to leave a comment.