Overview
Updated 06/25/2021
Deploy eDocuments: Avionté Core Application
- If a web login has not yet been created, follow the instructions outlined in Employee Portal Test to configure the web login.
- If you chose to have all eDocuments available in the Employee Portal by default (wp_GetEDocumentList_All_Standard), jump to Complete Setup in Avionté Employee Portal further down in this article.
If you chose to have the option to select each eDocument per employee (wp_GetEDocumentList_Selected_Standard), proceed to the next step. - From the Main Menu, navigate to Front Office > Employee
- Search for an employee using the search fields at the top of the window.

- Double-click on the the employee's row.
- From the sub-menu, click Documents.
- In the Documents window, the Documents and EDocuments tabs will be visible on the right.
Note: If you do not see the eDocuments tab on the right of the main pane, reach out to an Avionté resource or update the Config Option - UseEDocuments to true. If you are an Admin Tools User, from the Start Page, Navigate to Actions > Admin Tools > System > Config Option > ConfigOptionbyFKName tab and type "UseEDocument" into the "Property" field. Click the setting and type TRUE into the "ConfigOptionValue" field. Tab off to save and close the window. Restart the Avionté core application and go to Step 3.
- Click the eDocuments sub-tab.

- Click New EDocument in the upper left corner.

- Select the eDocuments that you want to test in your Employee's Portal by placing a check mark in the box next to the document.

- Click Finish.

Complete Setup in Avionté Employee Portal
- Click the Employee Portal link and log in using the test Employee's web login credentials. For more information on setting up an Employee's web login credentials, see Employee Portal Test: Configure Web Login.
- Click eDocuments on the top menu bar.

- Verify that all the correct eDocuments are showing in the document list.

- If you are testing one eDocument, click Input to the right of that document.

- If you are testing all documents, click Employee: Start Wizard. The Wizard allows employees to complete each document in order without being returned to the eDocument page between each document.

Note: You may need to manually re-size the screen to see all of the options. - If an eDocument requires that an employer portion be filled out, the status will change to "Pending Review." To complete this document:
- Navigate to Employee > select an employee > Documents > EDocuments tab in the Avionté application.
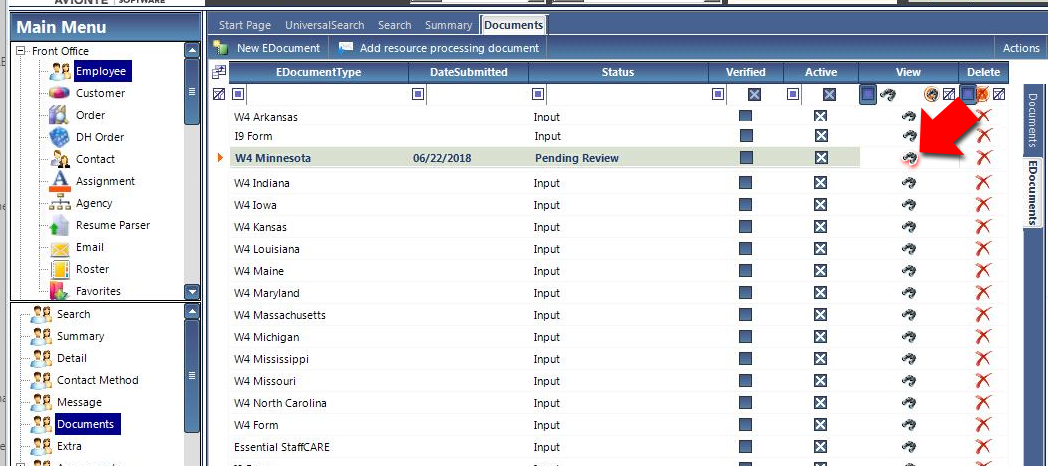
- Click the "View" button (binoculars icon) of the eDocument that is in "Pending Review".
- A web browser will launch displaying the eDocument. Complete the employer portion fields on the eDocument where necessary.
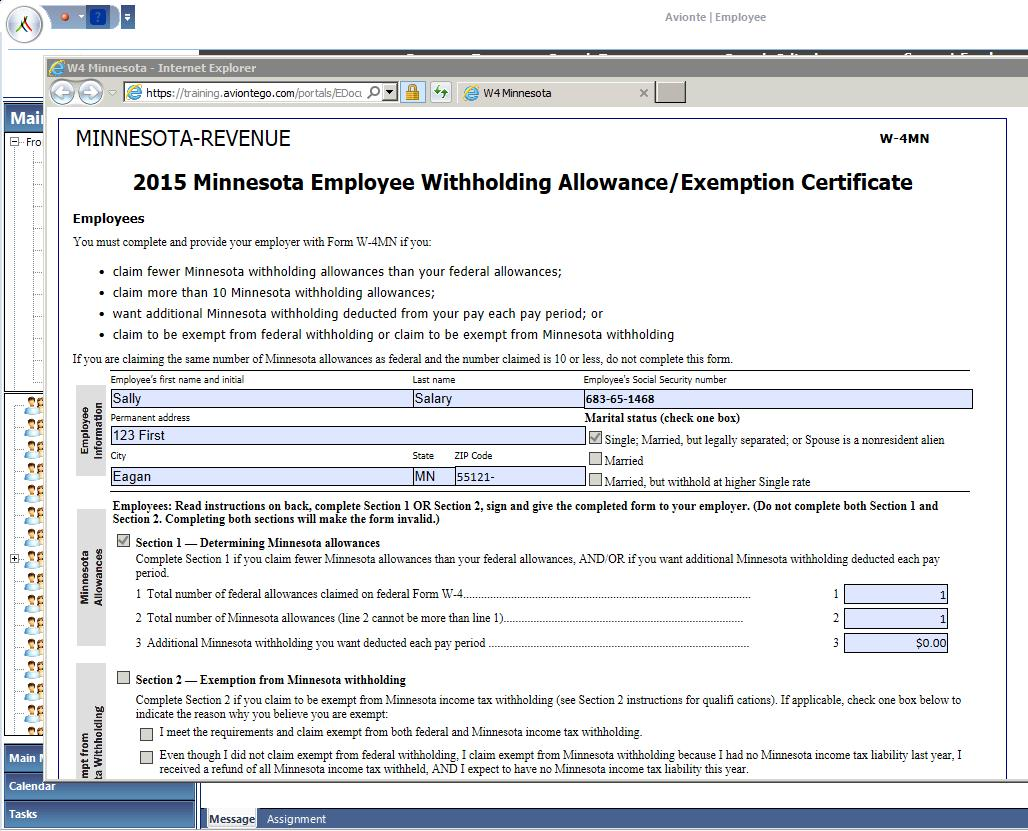
- Click the "Submit" button at the bottom of the eDocument to save the changes.
- Close the browser window. The edocument will be submitted and the status of the eDocument will change from a status of "Pending Review" to "Complete" in the Avionté application.
For more information on status types, visit the eDocuments Tab article.
- Navigate to Employee > select an employee > Documents > EDocuments tab in the Avionté application.
- Verify that all eDocuments behave according to the eDocument Request Form that was filled out. If something isn't behaving as expected or something needs to be updated, create a new ticket or respond to the existing ticket to request corrections.
Comments
0 commentsPlease sign in to leave a comment.