Overview
Updated 07/07/2021
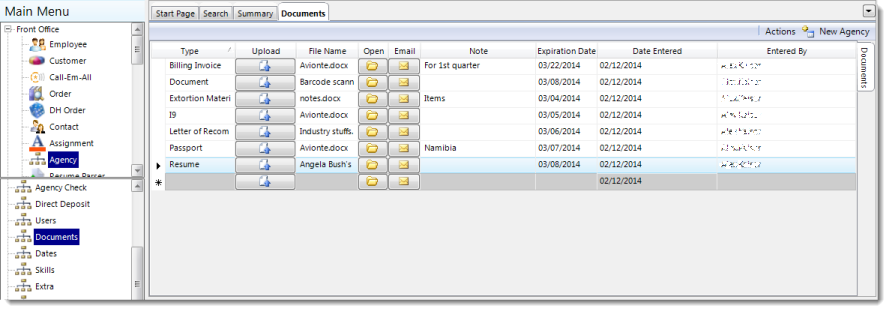
The Documents item of the Agency section allows you to attach documents to the Agency's profile.
Note: With the exception of ".exe" and ".dll," most document file types may be uploaded to Avionté Documents pages.
Upload a New Document
- Click the drop-down menu of the bottom-most cell of Type column.
Note: The options in this drop-down will be set by your site administrator. - Select a document type from the menu.
- Click the Upload button.
- Select a document from the computer's folders.
- Click Open.
- Once the document has been uploaded, the file name will be displayed in the File Name column.
- Click the Open icon to display the document. This will open the document in a new window.
- If email integration has been setup for Avionté you can email the document by clicking the Email icon.
- Any special messages regarding the document can be entered into the appropriate cell of the Note column.
- Enter the date the document is set expire by selecting a date from the date picker in the corresponding cell of the Expiration Date column.
- The cells in the Date Entered column will auto-populate the date the document was put into the system.
- The cells in the Entered By column will auto-populate the name of the user who entered the document into the system.
Replace an Existing Document
- Select the unwanted document from the grid.
- Click the Upload button. A confirmation window will open up.
- Click Yes indicating your intent to replace the file.
- Search for and select the new document.
- Click Open to select the new document.
- Tab off the field to save the document change.
Comments
0 commentsPlease sign in to leave a comment.